Installing the Java Agent in AWS Elastic Beanstalk
Method 1: Using a .ebextensions configuration file
This approach does not require you to manually download the agent zip file before deployment.
- Download the .ebextensions configuration file named apminsight-javaagent.config from this link.
- Open the downloaded file and update the following lines:
- Line 51 (under option_settings):
Replace the value for S247_LICENSE_KEY with your Site24x7 device key. - Line 54 (under JAVA_TOOL_OPTIONS):
Replace the placeholder with your desired application name. - [Optional] Line 35:
By default, the agent zip file is downloaded from a URL ending in .com, which corresponds to our United States data center.If your organization requires data center-specific domains (due to restrictions or compliance needs), you may update the TLD (e.g., replace .com with .eu or .in) according to the data center where your Site24x7 account resides.
NoteThe agent zip is identical across all data centers.
- After making the above changes, save the file.
- Line 51 (under option_settings):
- Place the saved file inside the .ebextensions folder at the root of your application source bundle. If the folder doesn't already exist, create it.
Your project structure should look like this:
your-app/ (to be zipped)
|──── .ebextensions/
| └── apminsight-javaagent.config
|────your_application.jar
|── other_files (if any) - Zip the entire project directory (your-app/), including the .ebextensions folder.
- Open the AWS Elastic Beanstalk Console and choose your application environment.
- Click Upload and Deploy and upload the new application zip.
Note
Any errors that occur during the execution of the configuration file will not affect the application deployment. Such errors can be found and debugged from the deployment logs.
Method 2: Using a ProcFile
This method is an alternative to Method 1 and is suitable for applications started with a ProcFile. Unlike Method 1, this approach requires manually downloading and including the agent in your deployment package.
- Refer to this help page for the previous steps.
- Ensure the extracted agent folder is included in your application deployment package. This folder has to be placed in any path inside the user directory of the associated EC2 instance. Make sure the application owner has read and write permissions for the agent folder.
- In the AWS Elastic Beanstalk console:
- Go to Environments > your environment > Configuration.
- On the Configuration page, find the Updates, monitoring, and logging section.
- Click Edit.
- On the opened page, scroll to the Platform software section.
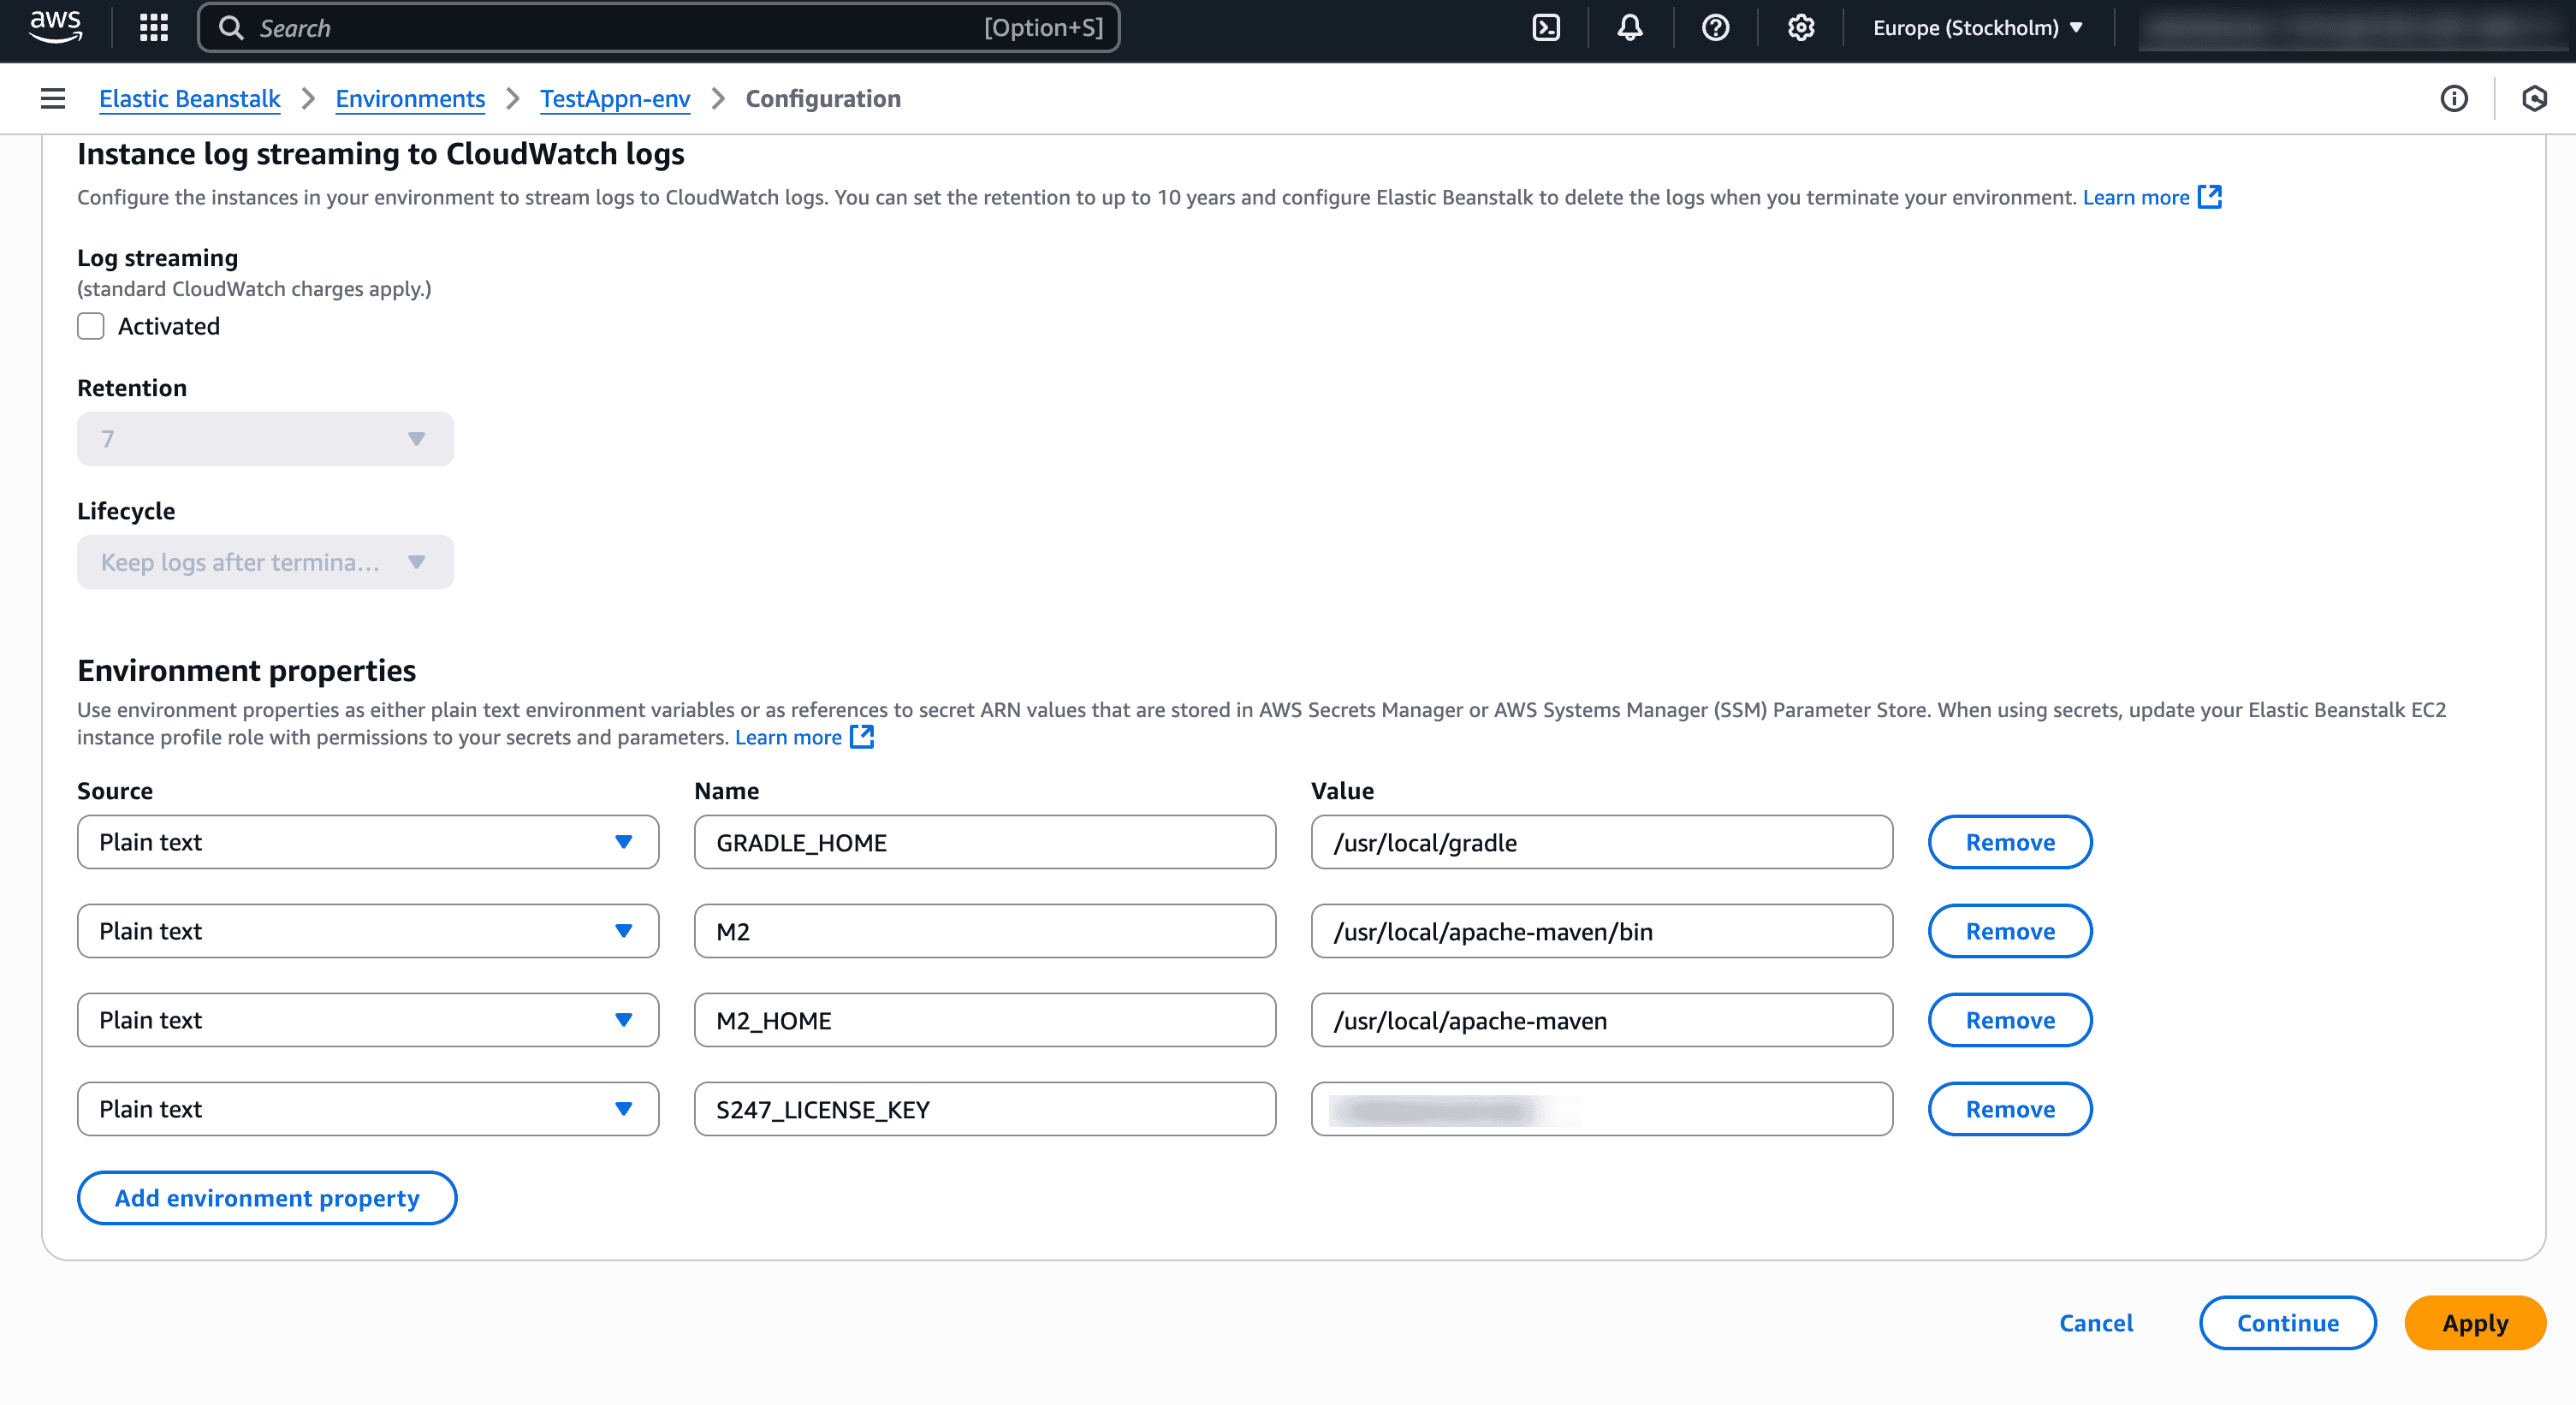
- Under Environment properties, click Add environment property and set:
- Name: S247_LICENSE_KEY
- Value: (your Site24x7 device key)
- Click Apply to save the changes.
 Note
NoteIf you're managing environment variables outside the AWS Console, you can define the S247_LICENSE_KEY variable there instead of setting it via the AWS Console.
- In the ProcFile used to start your Java application, modify the command to include the Java agent and application name, as shown below:
java -javaagent:<path_to_agent_jar> -Dapminsight.application.name=<your_application_name> -jar <your_application>.jar
Replace:
- <path_to_agent_jar> with the absolute path to apminsight-javaagent.jar.
- <your_application_name> with the name you wish to appear in Site24x7.
- <your_application>.jar with the actual name of your Spring Boot JAR file.

- Save the file and update the deployment in AWS Elastic Beanstalk (EBS).
Method 3: Installing the Java agent in the EBS Tomcat platform
This method can be used for applications that are deployed on the EBS Tomcat platform.
- Extract the agent zip file to a new directory inside WEB-INF/lib.
- Open apminsight.conf file in any text editor and add license.key value, which can be obtained from Site24x7 APM Insight page. Also provide the application name in the conf file.
- Repackage your application and deploy it on AWS Elastic Beanstalk.
- In AWS Console, go to Elastic Beanstalk and choose your application.
- Then navigate to Configurations > Software Configuration > JVM command line options to add the java argument
-javaagent:<path_to_tomcat_directory>/webapps/ROOT/WEB-INF/lib/apminsight-javaagent/apminsight-javaagent.jar
NoteFor Example: For installing agent in Tomcat container on linux, JVM argument would look like,Saving the JVM configuration changes will restart the application server automatically.-javaagent:/usr/home/tomcat/webapps/ROOT/WEB-INF/lib/apminsight-javaagent/apminsight-javaagent.jar
NoteYou can also pass the license key as a environment variable using key S247_LICENSE_KEY. This can be added in Configurations > Software Configuration > Environment properties.