Rename transactions with .NET agent API
Customize your application transactions by renaming them using the .NET agent API.
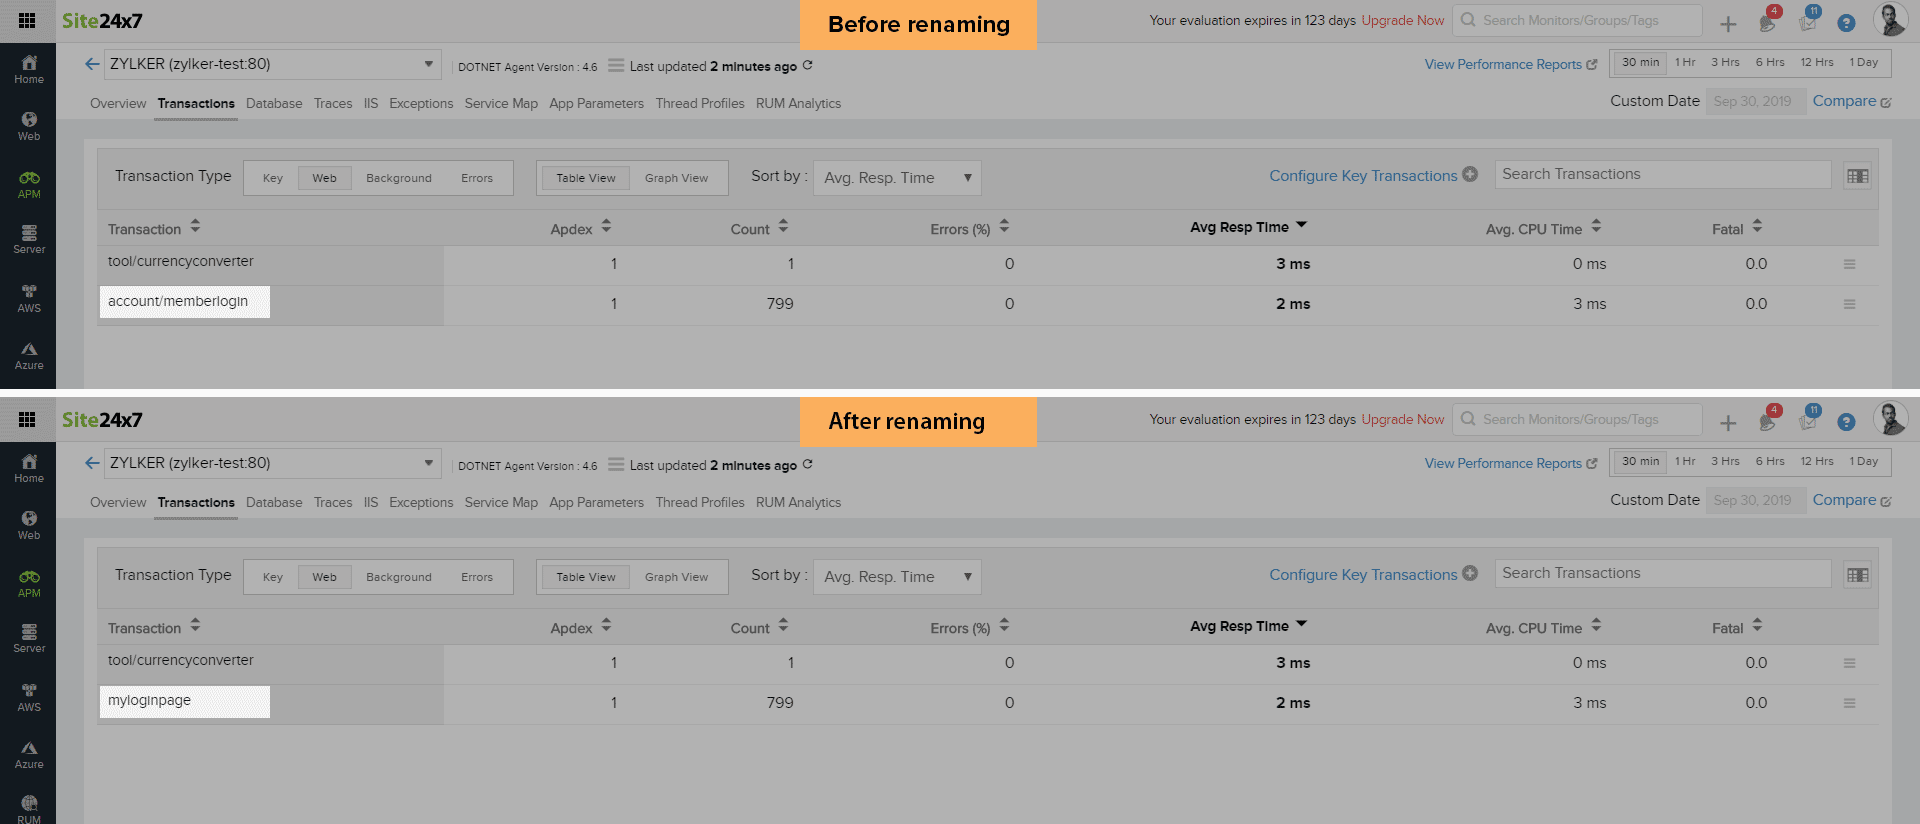
In general, the APM Insight agent uses the URL of a transaction as the transaction name. When the URL involves query strings or is dynamically populated (as in the case of single-page applications), it's difficult to identify a particular transaction. In such cases, you can rename your individual transactions to simplify tracking them.
Follow the steps below to rename your transactions.
- Add the package Site24x7.DotNetAgent.Apito your project.
PM> Install-Package Site24x7.DotNetAgent.Api
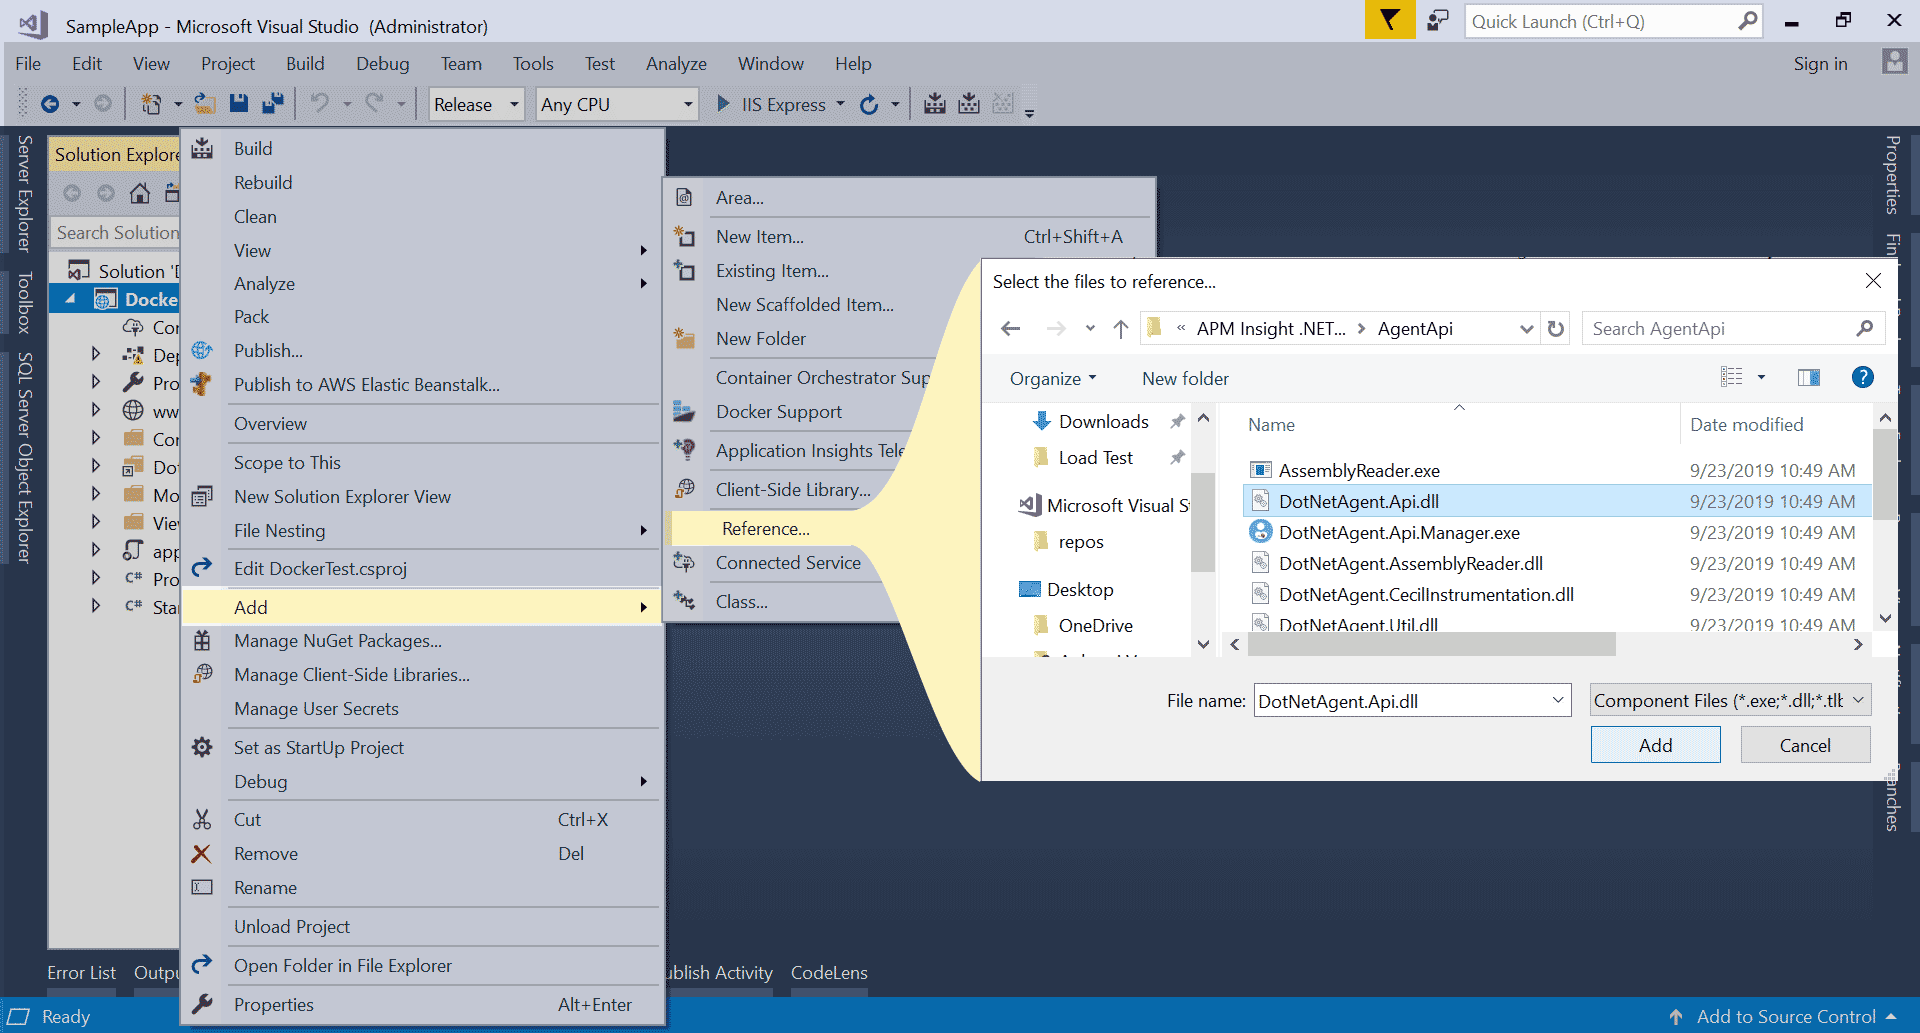
NoteIf you've already installed APM Insight, retrieve this API from the path given below and add DotNetAgent.Api.dll as a reference to your project.
C:\Program Files (x86)\APM Insight\APM Insight .NET Agent\AgentApi\DotNetAgent.Api.dll

- Include the method SetTransactionName(string) inside the transaction scope in your application code.
- The following example illustrates how to set the transaction name via the API:
public int UserLogin(string email, string sessionKey, bool isExternal)
 {
DotNetAgent.Api.CustomTracker.SetTransactionName("MyLoginPage");
AccountBL objAdmin = new AccountBL();
 string EmpName = string.Empty;
 int retcode = objAdmin.LogIn(email, out int EmpId, out EmpName);
  if (retcode == 0)
 {
Session["EmpName"] = EmpName;
 Session["EmpId"] = EmpId;
 Session["isAuthenticated"] = true; }
 }

Note:
- If you use this API multiple times inside a single transaction, the first use will be used as the transaction name.
- Unique values like session ID, page titles, and GUID should not be used in naming transactions.
- An application can only have 350 unique transaction names.
